Tuesday, May 31, 2011


Wow! Amazing work everyone! Very professional-nicely done! Week 4 shell is now open for you to begin working asynchronously on Project 3-Detail modeling. Some of you have some nice detail already! Now is your chance to put every rivet and every skin pore in! Next week is our "Anatomy check" critique. Those of you who have asked for suggestion on your model's anatomy, I will see you tomorrow. Everyone give some suggestions! Don't forget your self/peer evaluations here on the blog. Contribute to each.


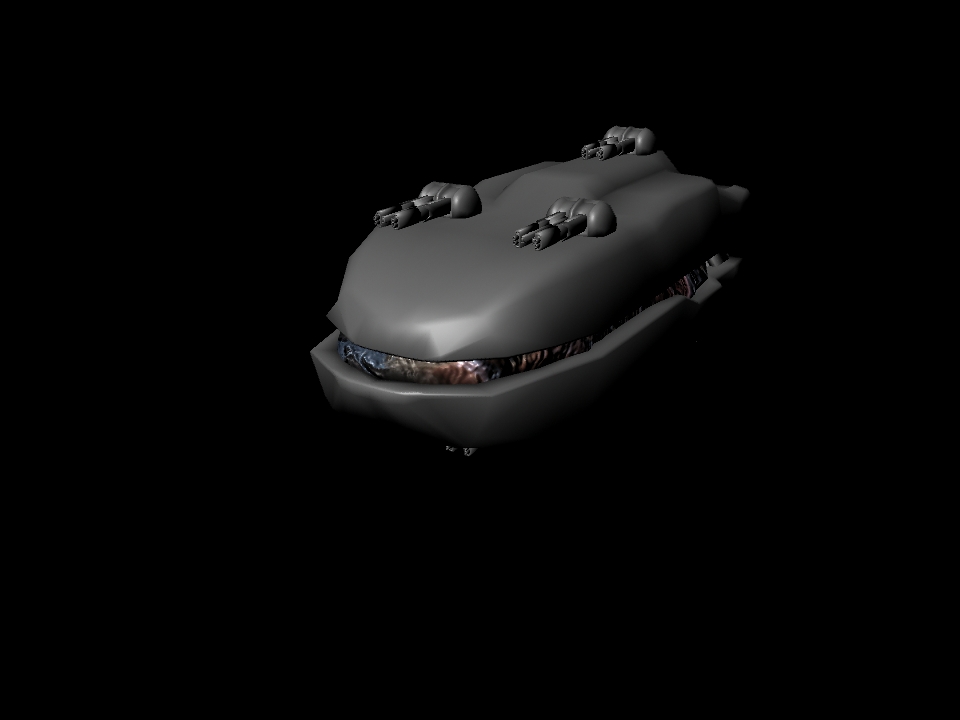
This vehicle is the one I am creating as I build the video tutorials. Check out the videos and give it a try. NURBS surfacing in Maya can be rather addictive when you get into it. I used to create all my organic characters with NURBS.


The tires have a displacement map for the tread and a bump map for the lettering. A specular map helps bring out the detail. A nice mr chrome shader is used with an HDR lighting setup for the wheels and paint. It's all in the shell-enjoy.

Deck

I've unwrapped the deck of the ship. There are far too many objects to upload the unwrap for, so here is the checker pattern for the vehicle's deck. A lot of the stretched areas will be tiled several times in UDK.


Monday, May 30, 2011

Train Progress

I've been playing catchup since I decided to go along with the class and do a low poly model first :)
Here is my final base mesh.  Yes, I am aware there are ngons.  I leave the end caps to cylinders that way because they are easier to manage.  The triangle count reflects about how many quads I will have (slightly less than half as many).


After quite a while I managed to get the train UV mapped and neat.  Rather than use multiple 2048 maps, I'm just going to use one 4096 considering the size of the object.


Here's the UV map: 


The texture is far from finished.  I started with the red and added some hand-painted grunge which I will be adding to.  After this I will be adding photographic underlays to maintain a realistic appearance.

Base Model Cont.


I have not gotten into unwrapping yet. Here is what I have so far for my base model as well as the head that I just started modeling. I'm taking suggestions on how to do the wings.


--Head:--Perspective:

Face detail


**3 updated images above after working on the mouth**


This has been a struggle to find where the best place is to add geometry, and then how exactly to manipulate said geometry into a realistic looking face. It hasn't turned out the way I imagined it looking, but I will keep working on it. I haven't done much of anything with the mouth. I've been working a long time on the eyes and nose, but they still don't seem right.


Super Magical Medic Mesh V2


I haven't had a whole lot of time to work on this since last week and I can't really do all the texture work until I know how to do the cloth for the dress... But anyway, here's what I've got so far. The head is still a work in progress but the rest of the mesh has been cleaned up and improved quite a bit. I still need to tweak the proportions a bit (waist and bust size, etc) to make it matched my concept (as is it's a generic female) but that should be a pretty quick and easy fix once the head is done.


Sunday, May 29, 2011

Tank Rover Texture

I've been working on...well the assignment for this week.

Below you will find the final render and two of the four 2048 (2k) texture maps. Why four maps? No real reason other than the fact that I wanted my textures to by nice and crisp. Also, 2 of the 4 are only uv maps are of the frame (which was a pain in the... to uv map even with the help of pelt mapping). Probably a waste since i'm sure I could drastically reduce the size of those uv's and still have something that looks just fine, but again we didn't have any size requirements, so I didn't put any on myself. It also wouldn't be very difficult to transfer everything into one map with the way I have everything laid out.


Hands, Feet and UVs


Saturday, May 28, 2011


ear detail. any problems you see? other than welding that front flap part to the head so it's flush?


Here is some progress I've made, I know it's not much, but I've definitely spent a lot of time refining the arms and shoulders and I fixed the legs so they weren't so thick. Now that I look at it today, it seems like the hands are still too big. What do you guys think?

And yes he still has crotchbutt, haven't gotten to that part yet


Wednesday, May 25, 2011

Techno-Organic spaceship.


OK here is my progress for the UV's for this, this was kinda a hassle to do but i figured out a unique way to do it. Using an add-on called GoZ for Maya and z-brush i was able to move the model from Maya to z brush and the using z brushes superior unwrapping add-on's to unwrap the model then move it back to Maya with clean mesh.

Monday, May 23, 2011

Super Magical Medic

Nowhere near done with my base mesh yet, but here's what I've got so far along with some concept art.

Ecroche 2

I decided to mix it up a little this week. I was tired of looking at machined parts so i went with a human body on this one. This is my ecroche for week 2

Sci-Fi Cruiser Base Mesh


Some shots of my Sci-Fi Cruiser. It's still in a very rough state, as I spent a good amount of time experimenting. It's still not progressing to a state that I'm happy with, and I'm considering scraping this mesh and starting it over.